> ## Documentation Index
> Fetch the complete documentation index at: https://docs-next.gallabox.com/llms.txt
> Use this file to discover all available pages before exploring further.
# Send Automated Messages to Facebook Leads
> Configure and create workflows in 4 easy steps. Easily manage your lead information and stay connected with your customers on Facebook. Start automating your messaging process today!
Let's configure and create workflow in 4 steps.
1. Select the **Channel Name** (the WhatsApp Number you are using with Gallabox). Click on **Update Configuration.**
Once you select the channel, you will not be able to change the channel once it is Integrated.
2. Go to **Workflow** and click on **Create New Workflow.** Select the **Lead Ad Form** and then **Pick a Template** you want to share with your customers.
If you have more than one page for your business, you can create workflows for all your Facebook pages. Similarly, if you have more than one lead form, you can create different workflows under the Facebook Leads Integration.
You can either pick the Template from the Gallery or from the existing templates.
3. After selecting the **Template** put appropriate variables like Recipient's Name and phone number.
Only map the variables that are available on the template. In the below Gif you can see the template has Recipient Name and Recipient Phone.
4. Add the **Action type** from the list of actions to update the contact info or the tags and Choose **Operation.**
**Note:** *This Action will be performed along with the automated sharing message once the lead fills the form.*
**->** Use **Append** if you want to add to the contact information.
**->** Use **Replace** if you want to replace the previous information with a new one.
**->** Use **Add if Empty** if there is no details in the contact details.
Click on **Create Workflow**.
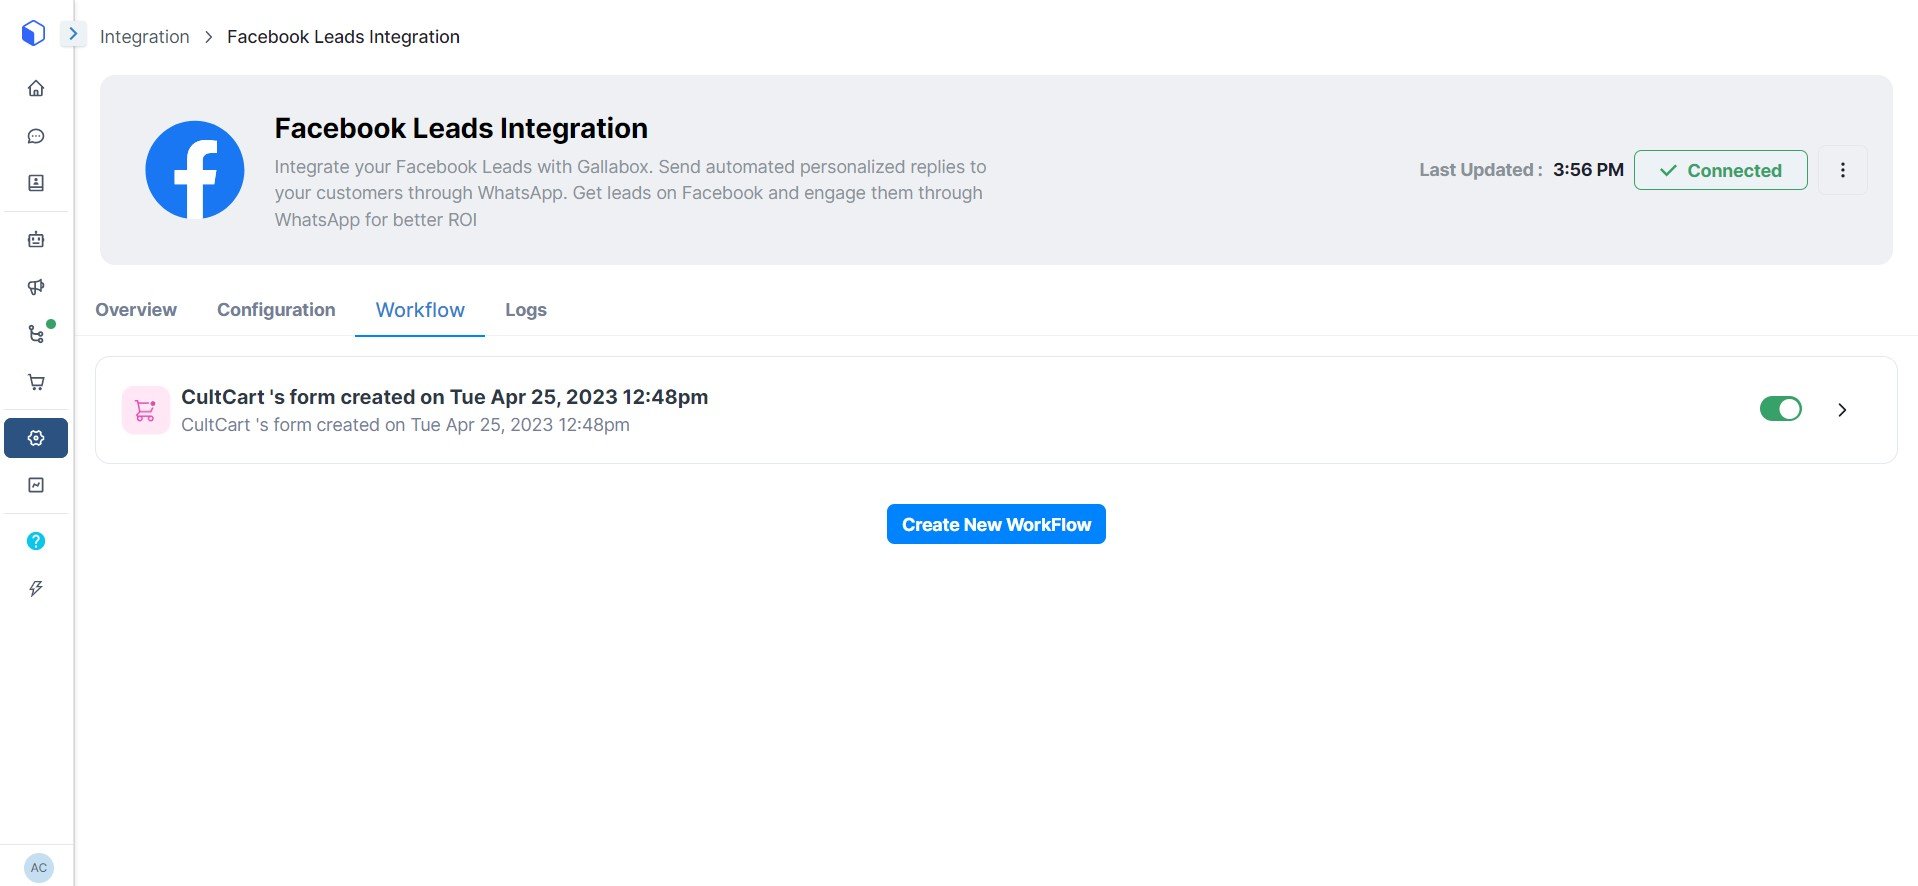
5. After you are done creating a workflow, you would see it in the list. You can create another workflow using the same process.
 #### *Well done! You created a workflow to send messages to any new lead from FB.*